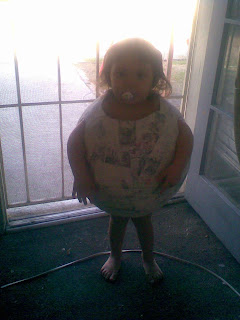
As promised, here's the picture of everyone in their Halloween-y goodness! I sweated and cried over these things, so I'm quite proud of the outcome!
 Then I cut out some white felt eyes, drew the pupils on with black sharpie, and glued them on with tacky glue. As you can tell, tacky glue is a favorite of mine!
 For the shell, I just drew an oval the size of the length of the costume, and a smaller one (about half the size) to go under it. I used white knit fabric to make the tubing that goes around the shell. To make the tubing I folded a length of fabric in half, sewed a straight line down the fabric, and then stuffed it like a sausage. I didn't really use measurements here, just went by looks. I hand sewed the shell and tubing together, stuffing the shell as I went along. When the shell was done, I hand sewed it to the top of the costume, and ta-da instant Koopa Troopa!
 Each square on the quilt, I made into a 1 inch cube, and went from there. I cut it out of paper first, to use as a pattern.
  Ignore the kids jumping off the couch, it was a hectic month for us..... I mean me, after all I did make 7 costumes!

 Then I just cut large ovals out of white felt, and glued them on the front with tacky glue. The glue dried clear and you couldn't see it when it dried.
 Lastly, I made her some yellow shoe covers (which I don't have pictures of ), and a hat. The hat is supposed to be the top of the ba-bomb, and the wick. For the shoe covers I just took her shoe and turned it on it's side and traced it out twice. Then I sewed the 2 halves together and voila! For the hat, I just measured around her head, and then for the height I measured from her forehead to her hair. Then I cut a circle using the lid to an old butter container. I sewed it all together, and hemmed the bottom. For the wick I just cut a bunch of strands of white yarn and used tacky glue to glue them all together. Once they were all glued together and stiff, I glued them to the top middle of the hat. When everything was dry, I painted the very tip red to give her the look that she was just lit lol. So there you have it, my ba-bomb! Check back on Halloween for the complete picture!
 This is what my kids want to be for Halloween, and I'm glad to oblige. Raymond (since he's tall and skinny) will be Luigi (3rd row down, 5th over). Orion (since he's shorter) will be Mario (2nd row down, 5th over). Olivia (cause she's just the exploding type, lol) will be a ba-bomb (1st row, 6th over). Our dog Willy (just cause we can) will be a Koopa Troopa (last row, 3rd over).